|
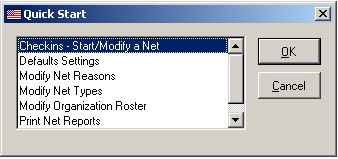
1. When you first start RACES Logger the Quick Start dialog box appears,
hi-light Default Settings and press the OK button.
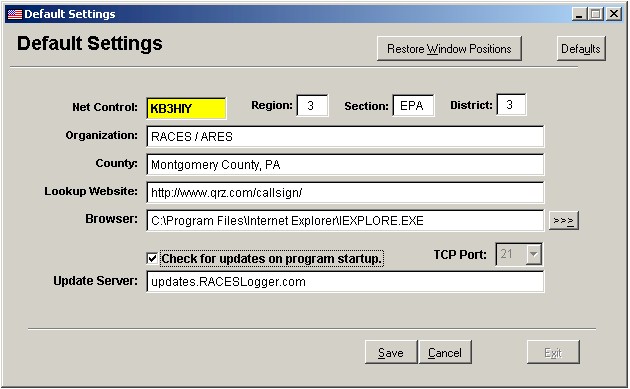
2. This will display the Default Settings screen click on Edit with your
mouse. In the Net Control field, enter your call sign. Update the Organization
and County fields with your counties information. Click Save then Exit.
Click here for
information on downloading
Automatic Updates.
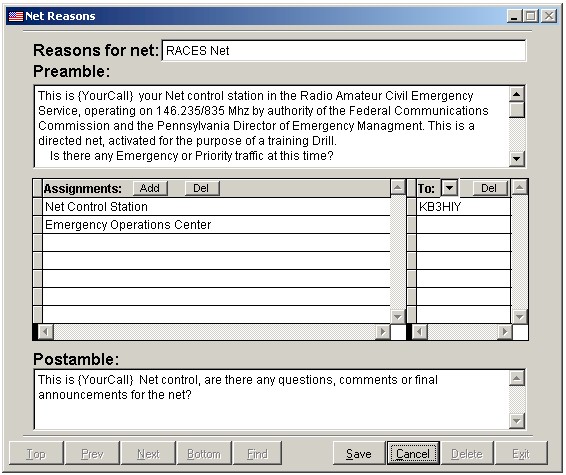
3. From the File menu, select Quick Start to re-display the dialog box.
Select Modify Net Reasons and click OK. Add, delete, or change the reason your
county runs nets and pre-amble and post-amble for each. You can also added
default assignments and stations for each. You can create as many reasons and
assignments to reflect the different net scenarios for your organization.
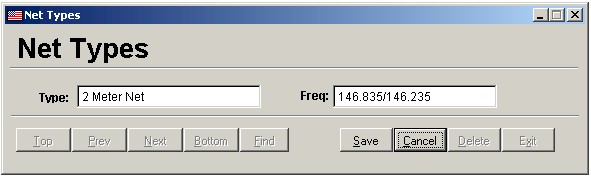
4. From the File menu, select Quick Start to re-display the dialog box.
Select Modify Net Types and click OK. Add, delete, or change the different net
types your county runs.
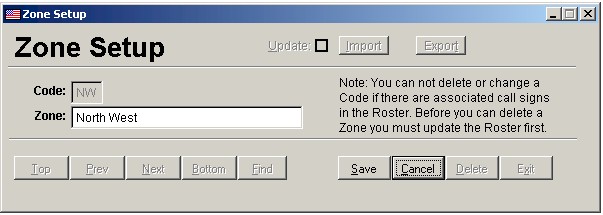
5. From the File menu, select Quick Start to re-display the dialog box.
Scroll down and select Zone Setup and click OK. Add, delete, or change zone
information to match your your counties zone assignments. You must assign
a unique code for each zone.
Click here for
information on
Importing and
Exporting data.
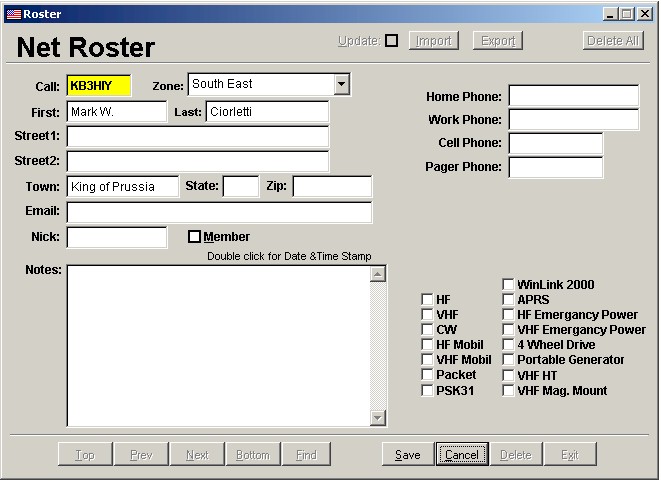
6. From the File menu, select Quick Start to re-display the dialog box.
Select Modify Net Roster and click OK. Add, delete, or change information about
your organizations members. Each call sign in the must be unique. Duplicates not
allowed. Click here
for information on
Importing and
Exporting data.
Congratulations, you are now ready to start using RACES Logger. See
Help for more information on running nets with RACES
Logger.
|